
How to Turn Course Lessons Into YouTube Shorts and TikToks
Turn recorded lessons into Shorts and TikToks that drive reach, build authority, and point students back to your full course.
Course creators already have one of the best possible source assets for short-form video: structured lessons. Every module contains clear concepts, repeatable frameworks, and practical examples that can stand on their own as Shorts and TikToks if you package them correctly.
The mistake is treating a lesson recording like one finished asset. A better workflow is to treat each lesson as a source library. Pull the strongest teaching moments, package them with clearer hooks, and publish them as weekly short-form posts that bring new people into your course ecosystem.
Quick Answer
To turn course lessons into Shorts and TikToks, start by pulling moments that already teach one complete idea in under a minute. Then batch the packaging layer: title, description, and CTA. The winning clips are usually concept explanations, mistakes to avoid, step-by-step mini lessons, and example-driven takeaways.
HypeNest helps because the lesson clip, the metadata, and the publishing plan can live in one workflow. That is faster than extracting a clip in one tool, drafting the copy in another, and then manually pushing everything into a scheduler.
Why course lessons repurpose so well
Lesson recordings already have something most creators struggle to create from scratch: structure. They usually open with a promise, move through one teachable idea, and end with a takeaway. That makes them ideal for short-form because viewers can understand the value quickly without needing a lot of setup.
They also carry natural authority. A course lesson feels more concrete than a generic tip because it usually includes a framework, an example, or a step sequence. When you cut the right moment, the clip feels useful on its own and still works as a trailer for the larger course.
The lesson moments most worth clipping
Single-concept explainers
Mistakes to avoid
Examples and mini case studies
Step-by-step sequences
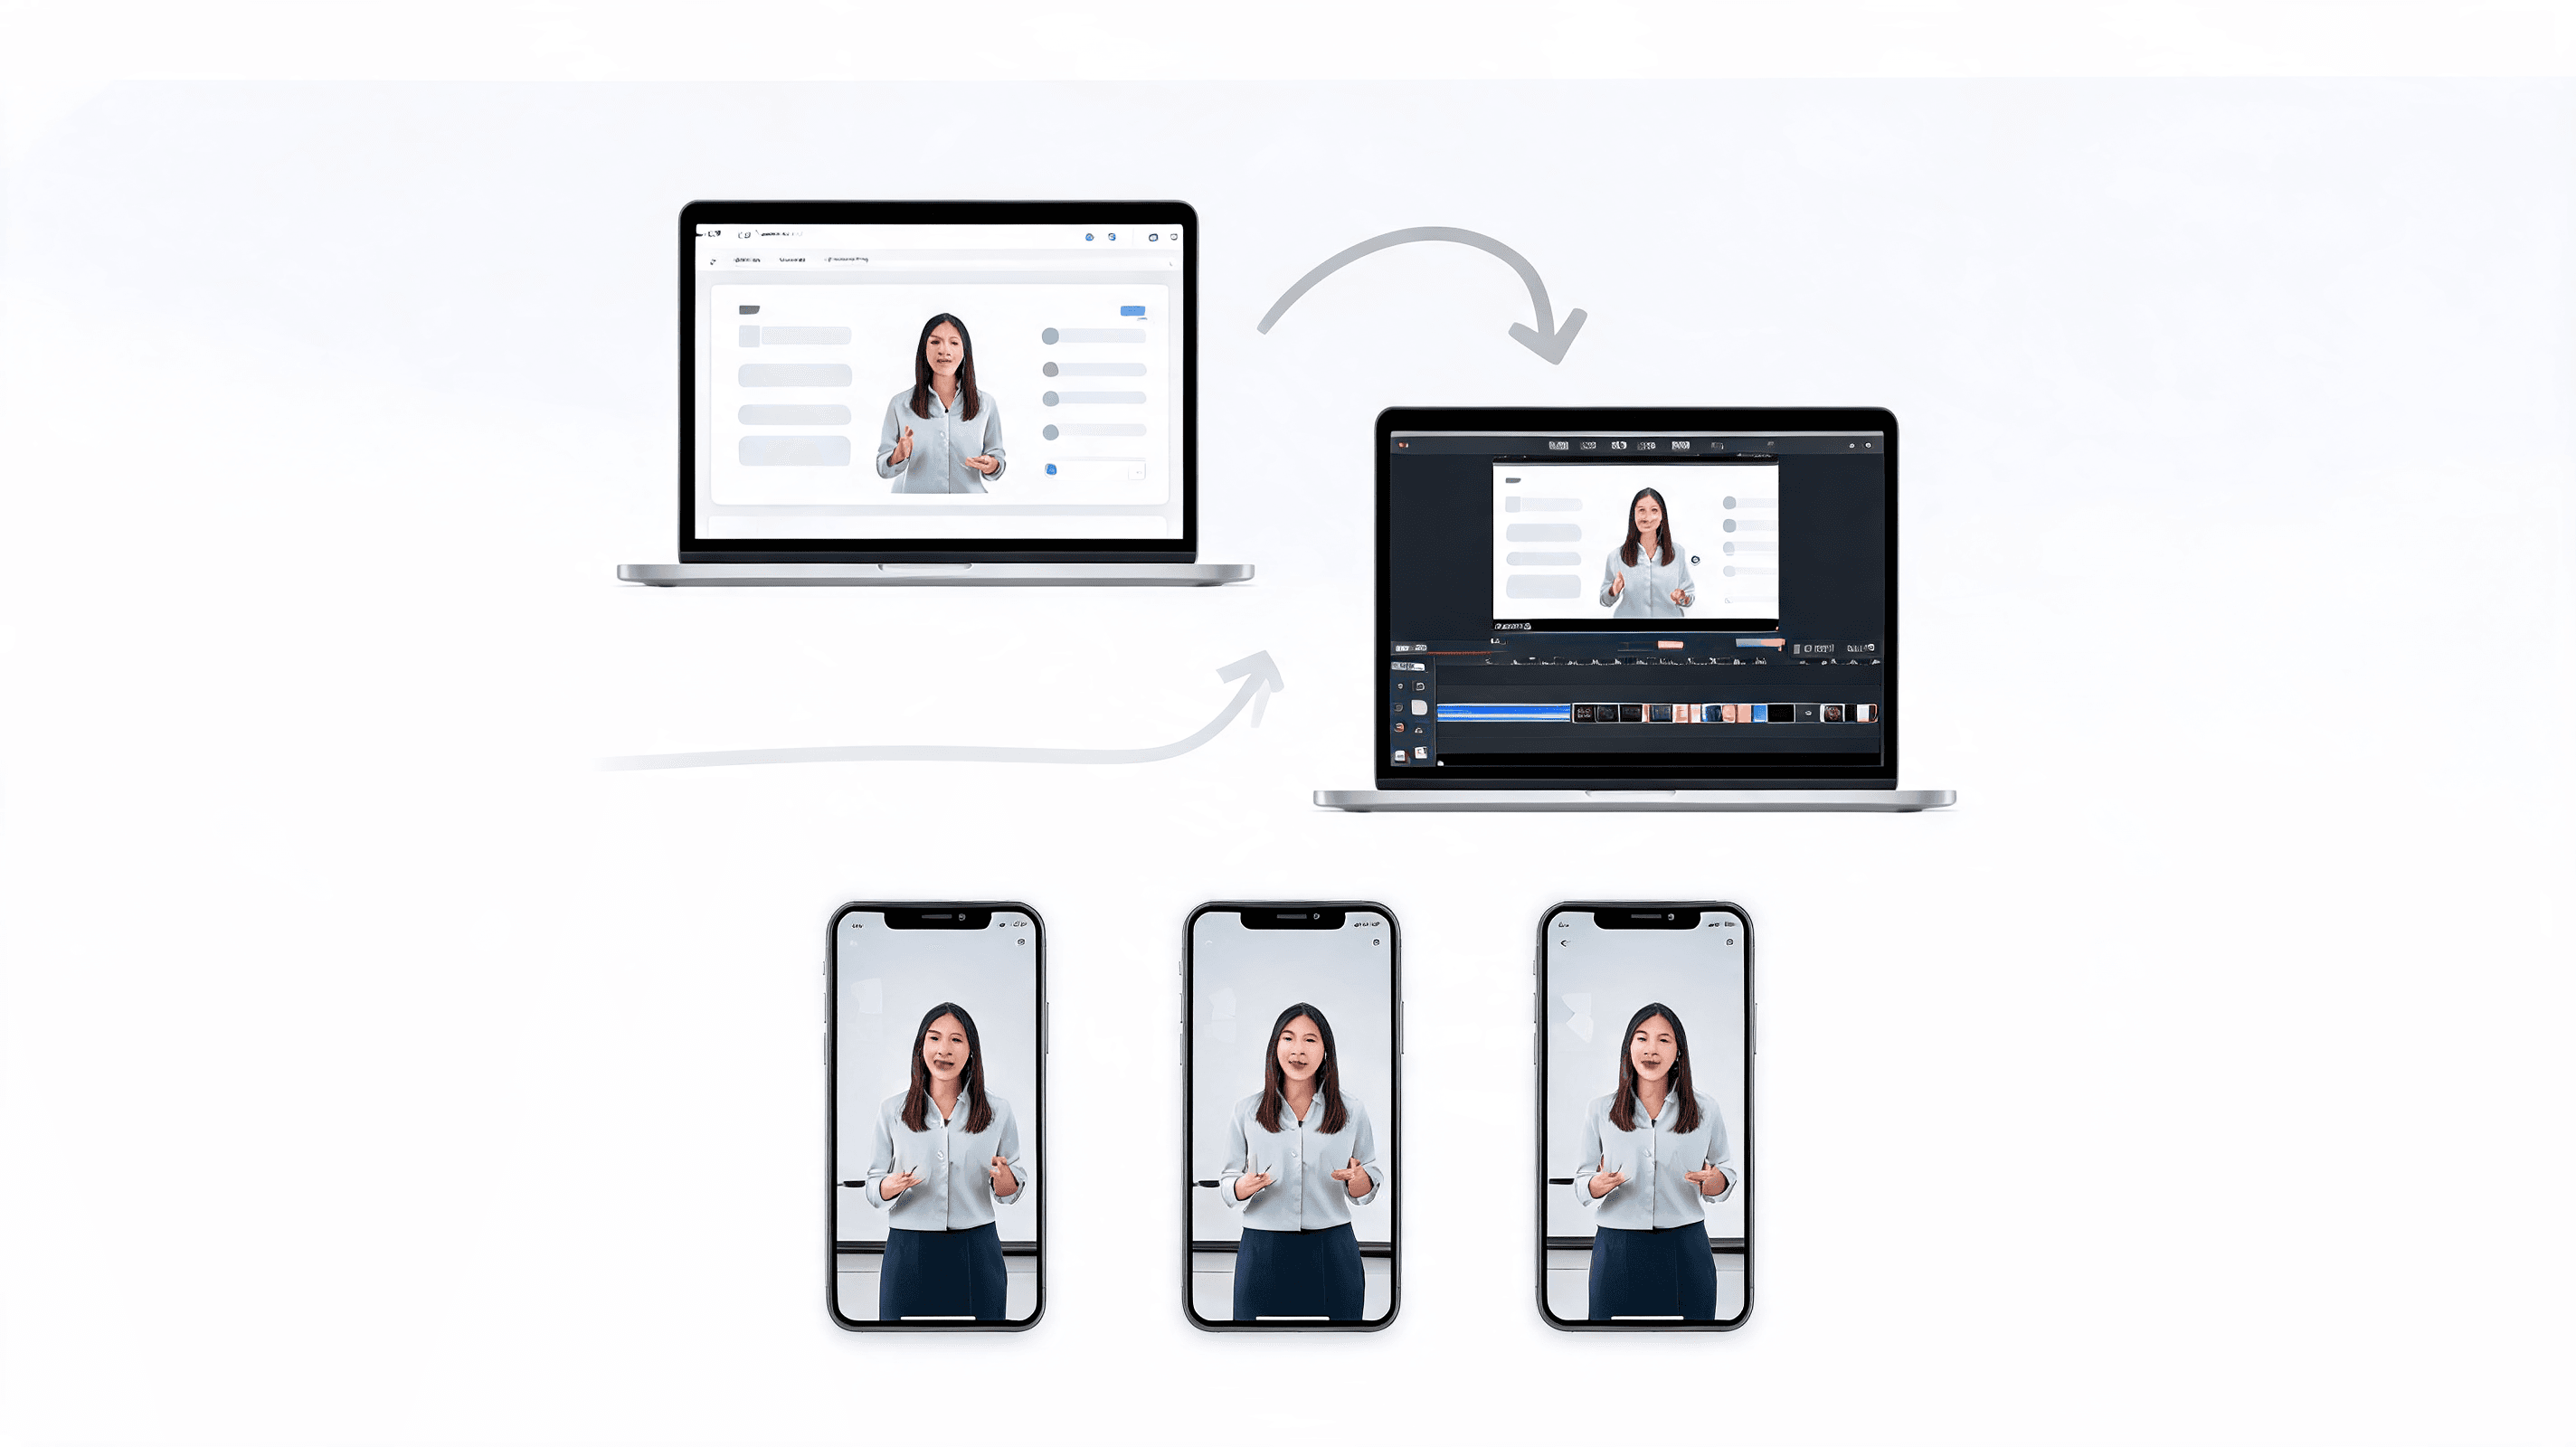
A repeatable lesson-to-Shorts workflow
Upload the full lesson and review for standalone moments
Group clips by publishing role
Batch titles and descriptions after selection
Schedule clips across the week
Plan clips differently for theory lessons, demos, Q and A, and feedback sessions
One reason course clips underperform is that creators repurpose every lesson the same way. They find a minute of usable footage, trim the dead air, add captions, and publish it with a generic educational title. That approach misses the real advantage of having a course library. Different lesson formats create different kinds of short-form assets. A theory lesson is not packaged the same way as a software walkthrough, a student critique, or a coaching call. If you plan the clip around the teaching format instead of treating every lesson as interchangeable footage, your hooks get clearer and your clips feel more intentional.
Theory and framework lessons usually produce the cleanest concept clips. The best moments are rarely the full explanation. They are the one sentence where you define a term, contrast two approaches, or explain why most beginners misunderstand a concept. For this type of lesson, the hook should make the confusion obvious fast. Titles like 'Most students learn this in the wrong order' or 'The difference that changes the result' tend to work better than a vague summary of the module. On screen, use text overlays to name the framework early so the viewer understands the promise before you finish the first sentence.
Demonstration lessons need a result-first packaging style. If the lesson shows a workflow inside a tool, the strongest short clip is often not the middle of the process. It is the five-second before and after, followed by the one or two steps that make the improvement happen. Educational audiences stay longer when they can see the outcome immediately. That means showing the finished page, edited clip, dashboard change, or template result at the top of the Short, then using the rest of the time to explain how you got there. Tool tutorials especially benefit from visual labeling, because step names help viewers follow along even if they watch without sound.
Coaching calls and Q and A lessons generate a different class of clip: audience-language clips. A student question usually contains the wording your future students already use in search bars, comment threads, and support emails. That makes the question itself a strong hook. Instead of hiding the question and jumping straight into the answer, open with the problem in the student's language, then answer it in direct terms. If needed, remove personal context and tighten the setup so the exchange becomes more universal. These clips often perform well on TikTok because they feel conversational rather than scripted, while still carrying the depth of a real teaching moment.
Feedback sessions, assignment reviews, and critique lessons are some of the most underrated repurposing sources. They naturally create tension because the viewer can see that something is off before you explain the fix. That lets you build clips around diagnosis: what is wrong, why it matters, and what to change first. A critique clip can position you as both teacher and expert operator because you are not just naming a tip, you are applying judgment. These clips also bridge especially well into the paid course. Viewers who watch you improve real work are more likely to believe the full program will help them improve their own work too.
Once you start planning by lesson type, your library becomes easier to manage. You can tag future clips inside the full lesson review process as concept, demo, question, critique, or bridge. You can also create repeatable packaging rules for each category. Maybe concept clips always open with the mistaken belief, demo clips always open with the outcome, question clips always open with the student's wording, and critique clips always open with the flaw on screen. That level of planning sounds small, but it changes the output from random clipping to an editorial system. Over time, the consistency makes both production and audience expectations much stronger.
Use a free-to-paid CTA strategy instead of turning every clip into an ad
The safest way to waste strong educational clips is to force the sales pitch too early. A Short that exists mainly to promote the course usually feels thin because the viewer can sense the value is being withheld. Educational short-form works better when the clip fully pays off its promise and only then suggests the next step. The job of the clip is not to sell the whole course in 35 seconds. Its job is to create trust, show the quality of your teaching, and make the viewer interested enough to want a deeper version.
A better model is a CTA ladder. Cold viewers need a low-friction next step. Warm viewers can handle a stronger bridge into a lesson hub, webinar replay, waitlist, or course page. The point is not to eliminate promotion. The point is to match the CTA to how much intent the clip has already created. When the call to action fits the teaching moment, the promotion feels like a continuation of the lesson instead of an interruption.
- Teach the complete micro-idea before you mention the course. If the promise is 'here is the fix,' give the fix clearly, then explain where the full framework or template lives. This ordering preserves trust and keeps the clip useful even for people who never click.
- Match the CTA to the depth of the clip. A broad awareness clip often works best with a free worksheet, lesson replay, newsletter, or resource hub. A deeper tactical clip can bridge more directly to the paid course because the viewer has already seen proof of depth and relevance.
- Use the description, pinned comment, and profile link for different jobs. The spoken CTA should be short. The description can add context and name the next step. A pinned comment can answer the obvious follow-up question. The profile or landing page can do the heavier conversion work.
- Rotate CTA destinations instead of pointing every clip to the same sales page. Some viewers need a free lead magnet, some need a bingeable library of lessons, and some are ready for the offer immediately. A mixed destination strategy usually converts better than a one-link-for-everything habit.
- Create bridge clips on purpose. Not every Short has to end with a CTA, but some clips should be designed specifically to connect free content to the fuller learning path. These are useful after a run of purely educational posts because they explain what students get when they want implementation help, accountability, or structure.
- Keep promotional language specific to the outcome. 'Enroll now' is weak on its own. 'Get the full template,' 'watch the full breakdown,' or 'see the full lesson inside the course' works better because it tells the viewer what extra value exists beyond the short clip.
- Track CTA performance by clip category, not just at the account level. You may find that critique clips drive more course clicks, while definition clips drive more follows and shares. That difference matters because it helps you assign the right CTA to the right type of lesson content.

Build a weekly publishing system that turns one lesson batch into consistent distribution
Course creators often repurpose in bursts. They clip aggressively before a launch, then stop when the launch pressure disappears. That rhythm makes short-form feel like campaign work instead of a durable audience channel. A better system is to treat one lesson or module batch as a week of distribution. The publishing calendar becomes a simple operational loop rather than a creative emergency every time you need content.
The goal is not to be everywhere at maximum volume. The goal is to make the repurposing process so predictable that new clips keep shipping between launches, cohorts, and webinars. Once the system is stable, your course stays visible even when you are not in full promotion mode.
Choose the lesson batch for the week and mark more moments than you need
Balance the batch across different publishing roles
Edit all selected clips in one focused production block
Batch the packaging layer after editing, not before
Schedule with platform behavior in mind
Use comments and support questions to seed the next week
Measure performance in a way that improves both reach and course conversions
Repurposing only becomes a compounding growth channel when you review results with more precision than 'this clip got views.' Educational clips can succeed for different reasons. Some are discovery assets that pull in new followers. Some create authority and save behavior. Some are bridge assets that drive lesson clicks, webinar registrations, or course visits. If you judge every clip by the same metric, you will accidentally kill formats that are helping the business in a different part of the funnel.
The easiest review habit is a weekly scorecard tied to clip role. Compare concept clips against concept clips, critique clips against critique clips, and bridge clips against bridge clips. That keeps the analysis honest. A clip that gets fewer total views but sends more qualified people to the course page may be more valuable than a broad top-of-funnel explainer.
- Watch the first-second hold rate first. If people leave immediately, the rest of the educational quality will not matter. Review whether the clip opened with a visible result, a sharp question, or a clear statement of the problem. Weak openings are easier to fix than weak lessons, so this is usually the fastest performance lever.
- Track average watch percentage by lesson format. Theory clips, demos, critiques, and Q and A clips often perform differently. When you know which format naturally keeps attention longer, you can give that format more distribution room without forcing every lesson into the same mold.
- Pay attention to replays, saves, and shares, not just total views. A clip that people save for later often signals practical value. A clip that gets replayed can signal that the teaching density is high. Those are useful indicators for educational brands because they suggest the content is helping real learners, not just attracting casual curiosity.
- Read comments for qualification signals. Questions like 'Where can I learn the full process?' or 'Do you teach this step in more detail?' are stronger business signals than generic praise. They tell you the clip created demand for a deeper product, which is the exact job many course-derived Shorts are supposed to do.
- Separate profile clicks, lesson clicks, and course-page clicks by clip type when you can. If concept clips drive follows but bridge clips drive offer visits, that is useful. It means your content system is working as a sequence, and you can intentionally publish different clip roles instead of expecting every post to do everything.
- Review production cost against outcome. Some clips take five minutes to cut because the teaching moment is already clean. Others need heavy reframing and extra overlays. If two formats perform similarly but one takes three times longer to produce, your sustainable workflow should favor the cheaper format most of the time.
- Refresh winners instead of assuming every lesson has to produce completely new hooks. If a definition clip wins, try a revised opening, a stronger example, or a platform-specific caption frame using the same core idea. Educators often sit on a lot of reusable teaching IP that can support multiple short-form angles without feeling repetitive.
- Let performance data shape future course recording habits. Once you know what clips work, you can record future lessons with repurposing in mind. That might mean stating the takeaway more cleanly, pausing after important lines, or verbally flagging common mistakes. The analytics loop should improve not only the short clips, but the source lessons too.
HypeNest routes that support course creators
Educators and Course Creators
Online Educators
HypeNest Clips
Video Titles Generator
FAQ
How many Shorts can I get from one course lesson?
Should course clips be promotional or purely educational?
Do I need different clips for YouTube Shorts and TikTok?
What makes an educational clip underperform?
Turn every lesson into a week of distribution
Use HypeNest to turn course recordings into Shorts, titles, descriptions, and a publishing rhythm that keeps your course visible between launches.